Wednesday 30 July 2014

tin house basescoat

I'm trying a demi-metalic for the tin roof..used 3 drops of gun metal grey, 2 drops of rainy grey and 1 drop of soft blue.
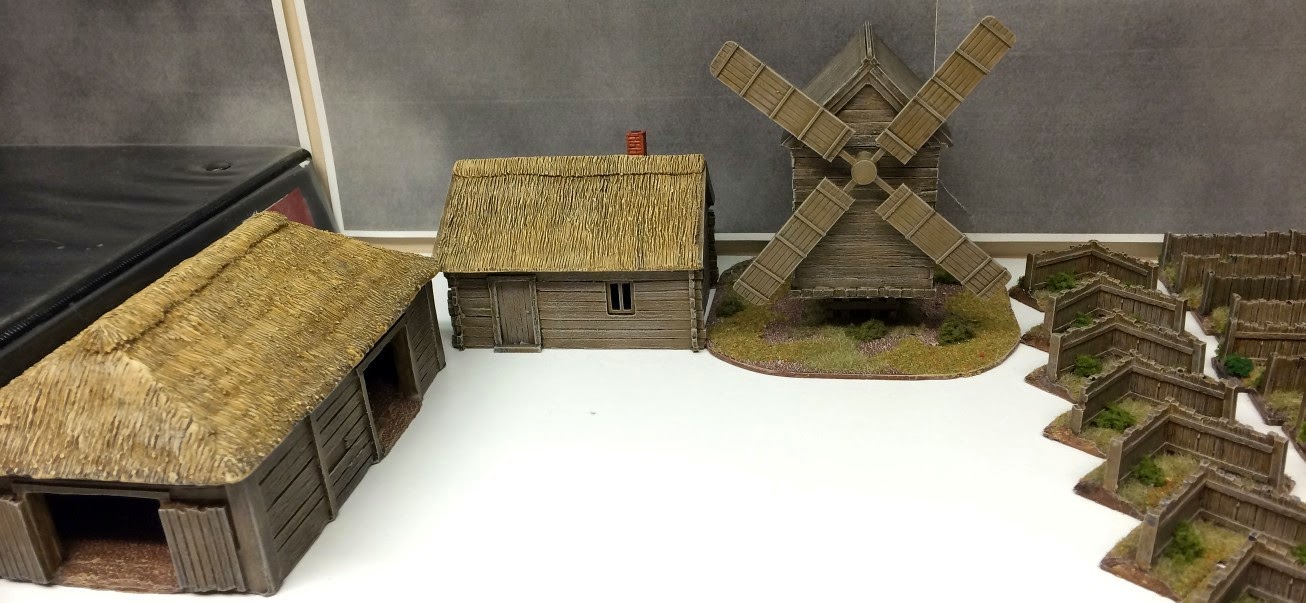
will see how it turns out when shaded and highlighted.The ridges look like they might be wood and not folded tin so doing them brown as well..

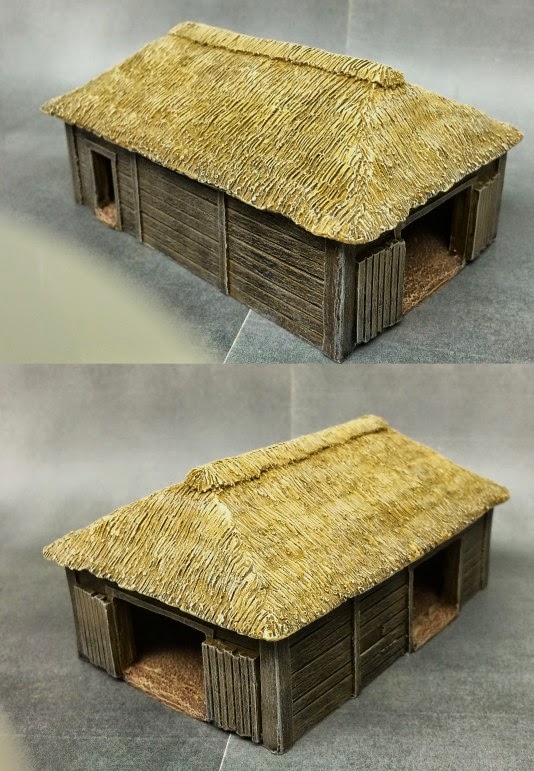
I've found the walls take about 3 coats for good coverage over the primer(got one done just letting it dry) and doing the wash for the walls and floors and drybrushing the highlights backup on the walls before painting the windows and doors works better.

Heres progress so far..roof might have come out a bit more cast iron color then tin(might need lighter grey)


Tuesday 29 July 2014

large house finished

Got the large house finished ..think the walls turned out better I used less sewer water and more parchment in the blend and it seemed to come out better. Just gotta wait 24 hrs and i'll apply the second coat of matt varnish.


next up small tin roofed house which I got primed..and should be able to start basecoating tomorrow


Friday 25 July 2014

small house drybrushed

finished up the wash's and drybrushing up the highlights for the building..not sure about the walls..the wash still might have been abit to dark and may give it a slight glaze of splintered bone to lighten the shading in the recesses.


and with other stuff


Thursday 24 July 2014

small russian house

got the basecoat all done on the russian house.
I used same color for the wood floor and shed and the thatch roof as from the others
for the windows I used bright turquoise and splintered bone for the walls.
i used stone grey for the base of the building and drybrushed up the highlights with alien grey.

the wash's will take longer drying between shades so they don't run together.i'm gonna use sewer water for the wood and thatch and am thinking of trying a dilutated blend of sewer water and parchment wash blended for the walls...stone wash for the grey foundation and on the chimney.


Monday 21 July 2014

log cabin almost done

got all the drybrush highlighting and aging done as well as basic painting of the chimney..it might need some weathering and a wash as well.


and pic of finished pieces


Sunday 20 July 2014

working on ironclad miniautres 15mm log cabin

got the cabin primed/basecoated and washed.. same colors as the windmill and barn.gonna do the chimney last in grey stone.


Saturday 19 July 2014

Friday 18 July 2014

omnistand's arrived..


just super glued one ring to bottom of diver bomber..yep these are gonna be awesome


Barn drybrush work finished

went thru and added highlights to the dirt/wood and roof ..not sure but maybe the outerbarn needs abit more..
I don't know if  its worth doing much with the barn interior walls since they're not sculpted.

heres pics so far and a pic with the windmill and fences for overall terrain consistancy.


ironclad miniatures 15mm Barn started

I got the barn cleaned up and primed


after that i basecoated the roof with reaper tanned leather and gave it a wash with secretweapons sewer water

the dirt in the barn i mixed a 50/50 of marigold yellow and leather brown and used made a wash of blacked brown for shading.

for the walls same as the windmill 50/50 alien flesh and lonestar leather and washed with sewerwater.


once thats all dry I'll start drybrushing basecoat color then brighten for highlights.

still not sure if I should base them on someplasicard and flock like the base of the windmill(which didn't come with a base of anykind) or just leave as is..


Monday 14 July 2014

Ironclad Miniature 15mm windmill finished

got the windmill based and assembled overall I think it turned out pretty good.


Sunday 13 July 2014

15mm windmill continues

I got the windmill basecoated with the same 50/50 mix of alien flesh and lonestar leather then gave wood a wash with secretweapons sewer water wash.
When dry I'm starting to drybrush straight alien flesh to give the wood its slightly grey aged look.

for the base I just basecoated it with intense brown then gave it a wash with blackened brown watered down to a wash
I'll have to start dry brushing that up which will hopefully tone down the brightness of the brown heh.


heres picture so far the base wood and windmill blades are done..gonna work on the building now.


dry fit after finishing dry brushing..I think the tones close to where I want it to be


Saturday 12 July 2014

Fences all painted and windmill started

got all the fence pieces painted just need to give it acouple coats of varnish then flock them.

I started assembling the windmill its ready for priming. the blades of the mill are very fragile..I'm gonna try and glue some posts behind the blades against the Mill building to help strengthen them and hopefully make it abit more durable for moving back and forth to the game club.


I trimmed some sprew bits and glued to inside of windmill blades..when assembed I'll glue those points to the building as well


finished up the first coat of varnish on the fences then primed all the pieces of the windmill

Here it is with a dry fit just held together via pins with a single 15mm figure for scale


Wednesday 9 July 2014

first two fence pieces varnished and flocked.

so bought a couple big bottles of liquitex high gloss and matte varnish and applied one coat each on the fence pieces then let it dry for a day before the second coat.

after it had dried I added acouple small clump foliage bushs and some dead grass static grass against the fence and some ground cover flocking

Heres how it turned out. front and back.


Saturday 5 July 2014

Eastern Front 15mm fences begin

I decided to start with the fences I got them all spray primed and am testing a base coat color of Lonestart Leather and Alien flesh..2:1 ratio for the wood. I'll highlight up to the inverse of 1:2 more grey for a slight aged wood look.


i need an air brush..heres first coat done LOL gonna need probably 2 more coats for basecoat for proper coverage


Wednesday 2 July 2014

Yak-3 painted and decaled..

decided to try dip to shade the planes..I had a feeling it wouldn't work great due to rough texture of the 3d printed models..and ya it was mixed results.. both endup abit steaky and darker then I would like but I painted up decaled and it turned out ok...just need to get decal set for the PE-2 and I'll move onto Barbarossa Planes.

Heres Pic of Yak3...just needs a dullcote now once all the decals have set overnight.